Payments
With this plugin, you can automate the access control process based on a successful transaction. Receive a payment and grant access. Create payment URLs and/or manage paid check-ins: the plugin can be activated on its own or is automatically included with the Check-in plugin.
To activate this feature, follow the procedure described on the main [“Additional Features”](https://docs.labkey.io/en/docs/plugin/) page.
PLUGIN SETTINGS
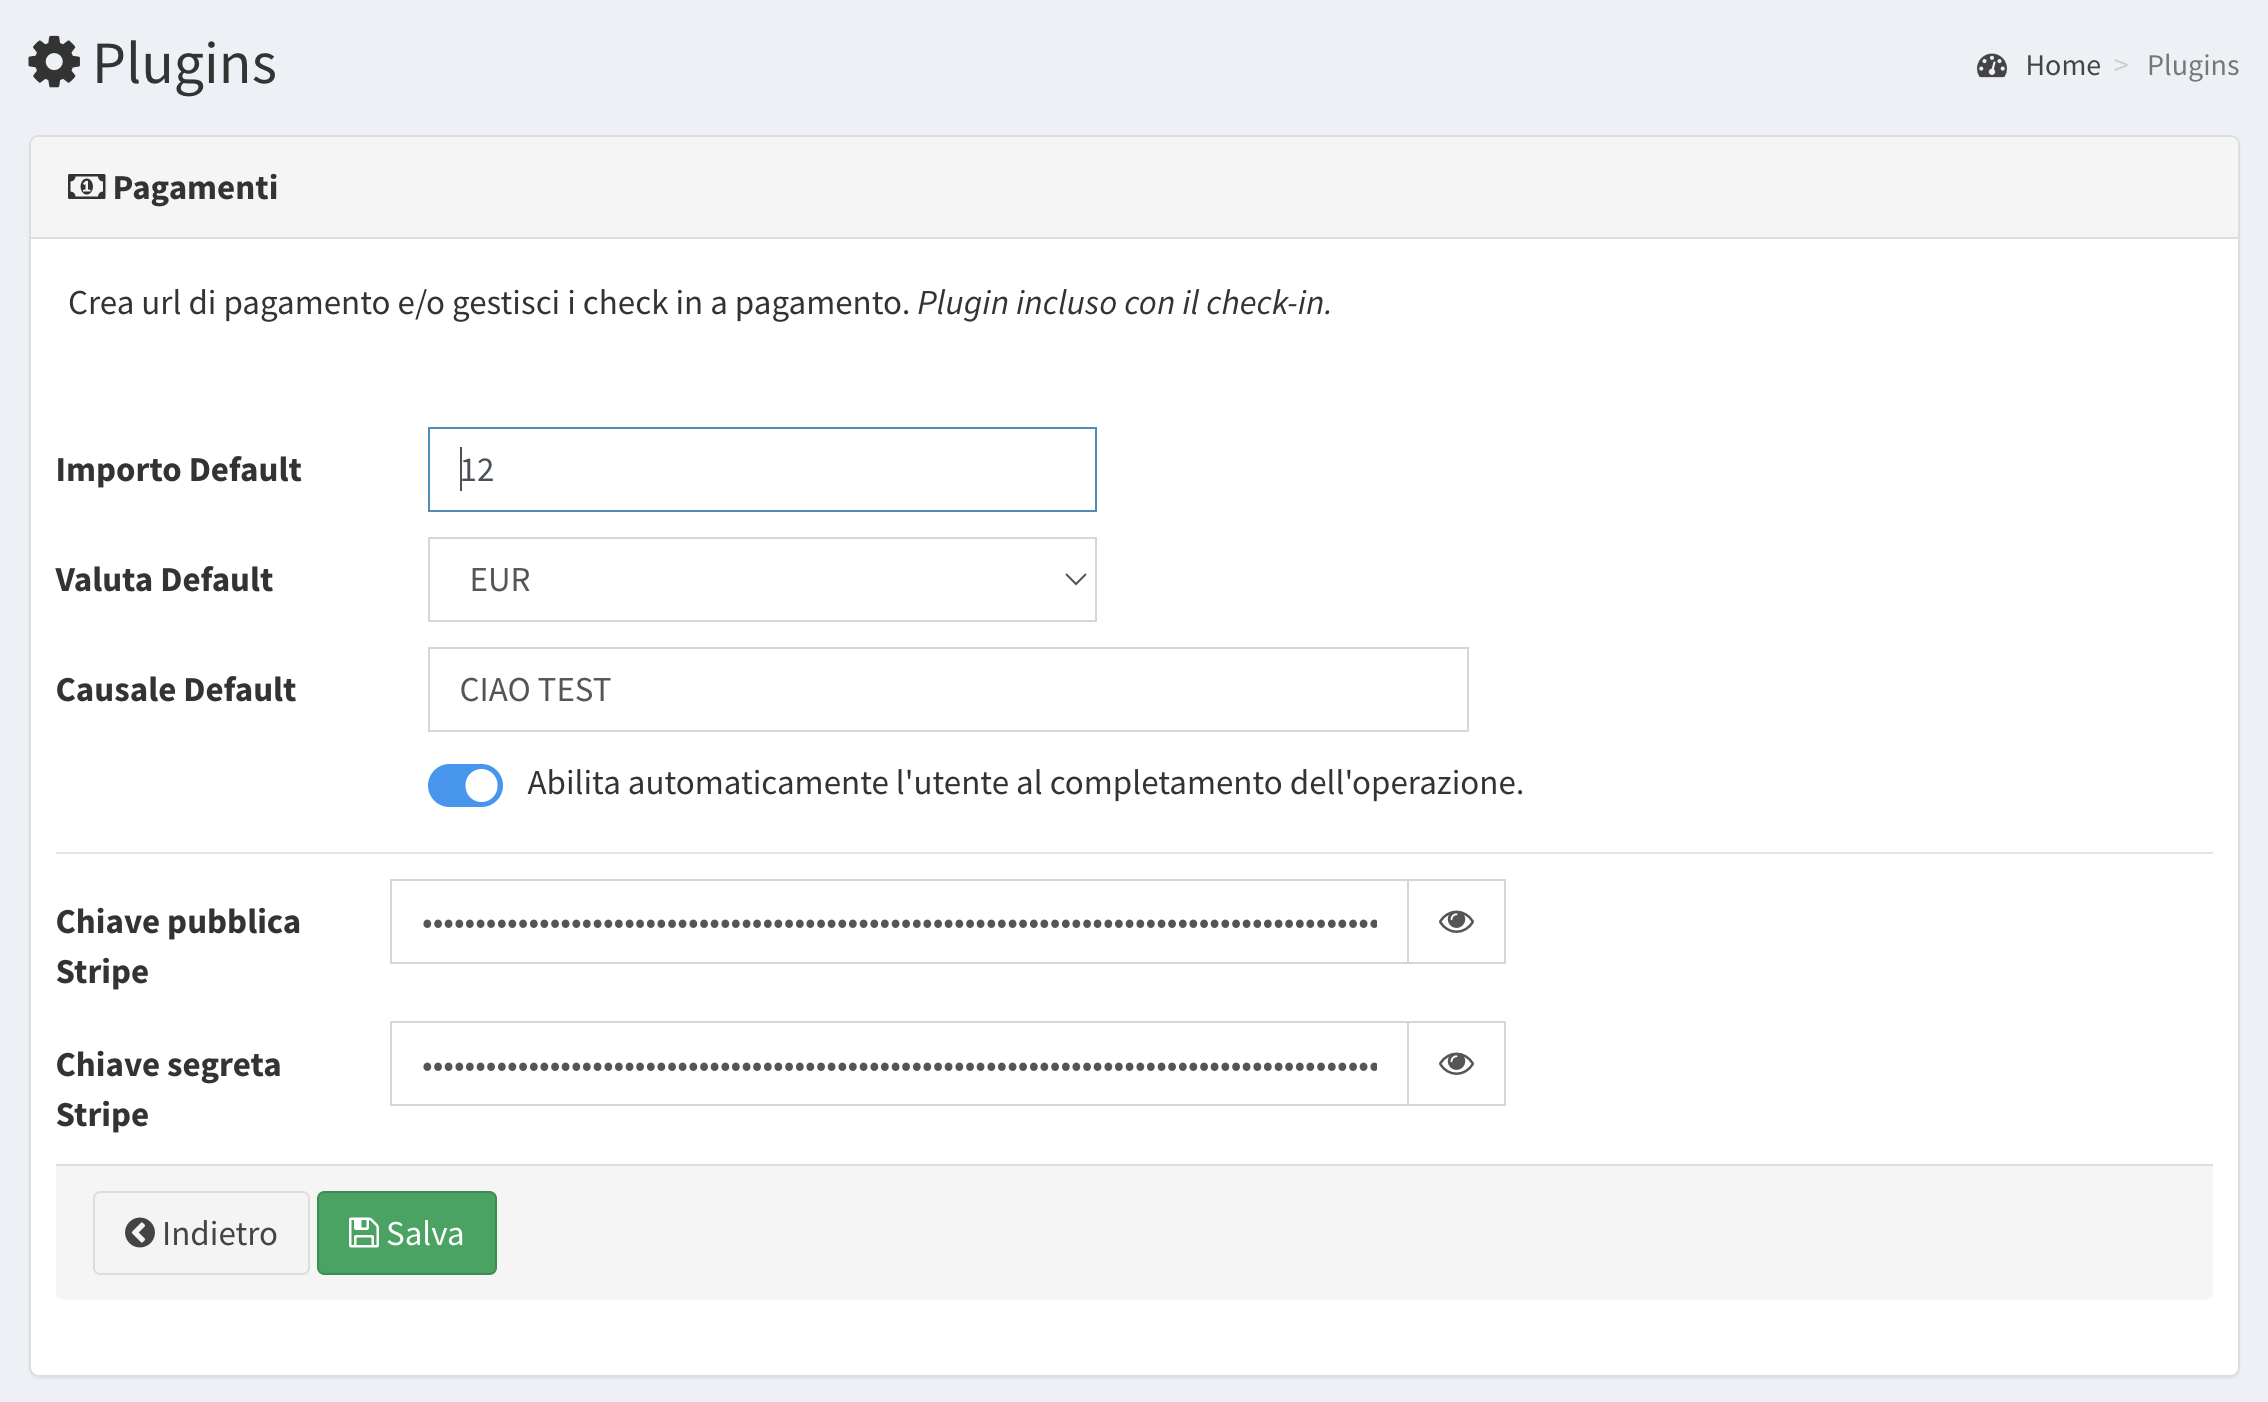
Access the settings section from the left menu under “Plugins” and click the green pencil icon next to the “Payments” row.
In this area you can:
- Set the default amount, description, and currency for the payment you want to request via the payment link
- Enter your Stripe account credentials
- Click “Save”
CREATING A PAYMENT LINK
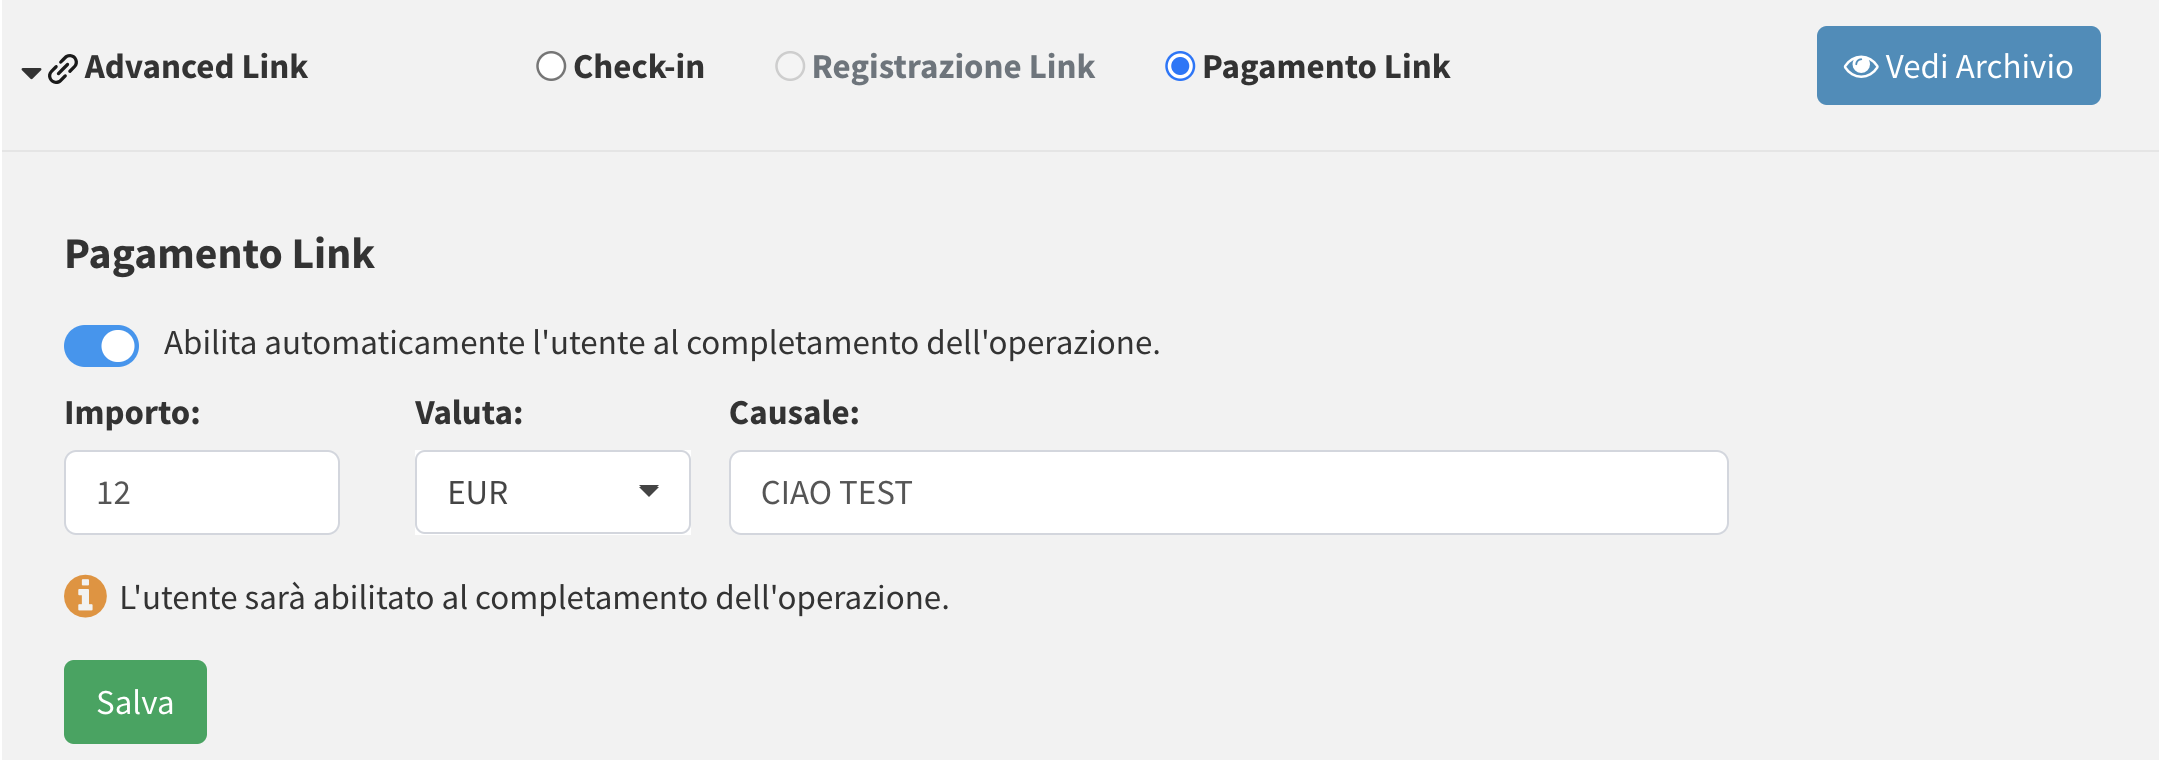
Once the user has been created (see Adding a New User), go to the summary section (accessible via the blue eye icon in the user list), where you can generate the link by setting or modifying the default payment amount, and also decide whether the user will be granted access once the transaction has been completed successfully.
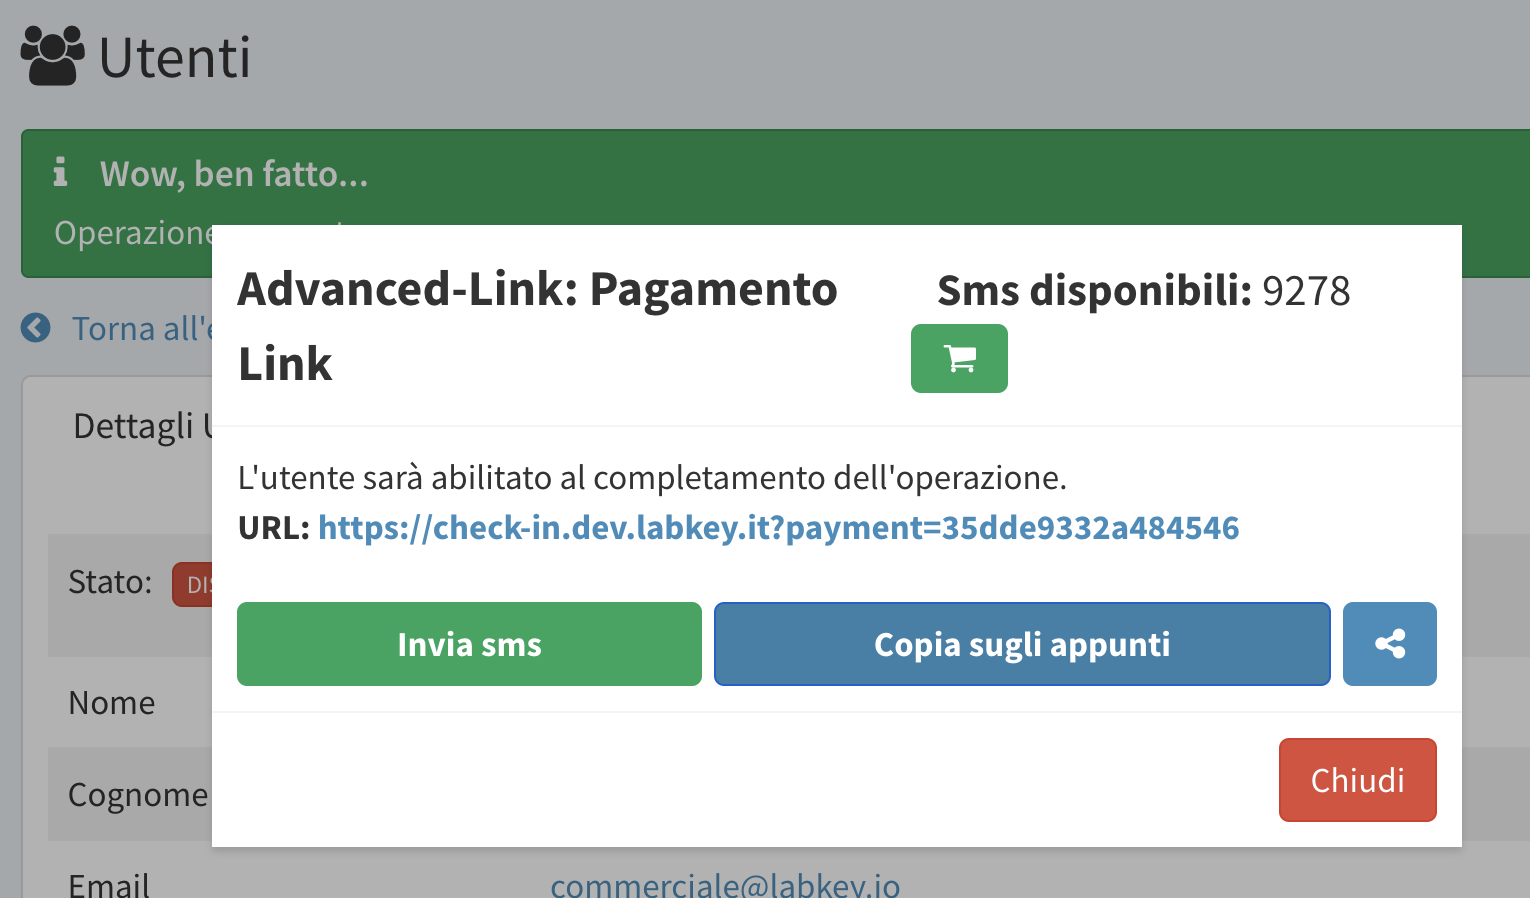
Click “Save” and a pop-up will appear for sharing the check-in link. Sharing is available via:
- SMS (purchasable in the dedicated section by clicking the green cart icon or directly from the dashboard as described in the dedicated section Manage Panel)
- Copy and paste
- Direct sharing via email and WhatsApp (coming soon)
Once the link is shared with the guest, you will need to wait for the guest to complete the payment procedure before access is granted.
ARCHIVE AND LEGEND
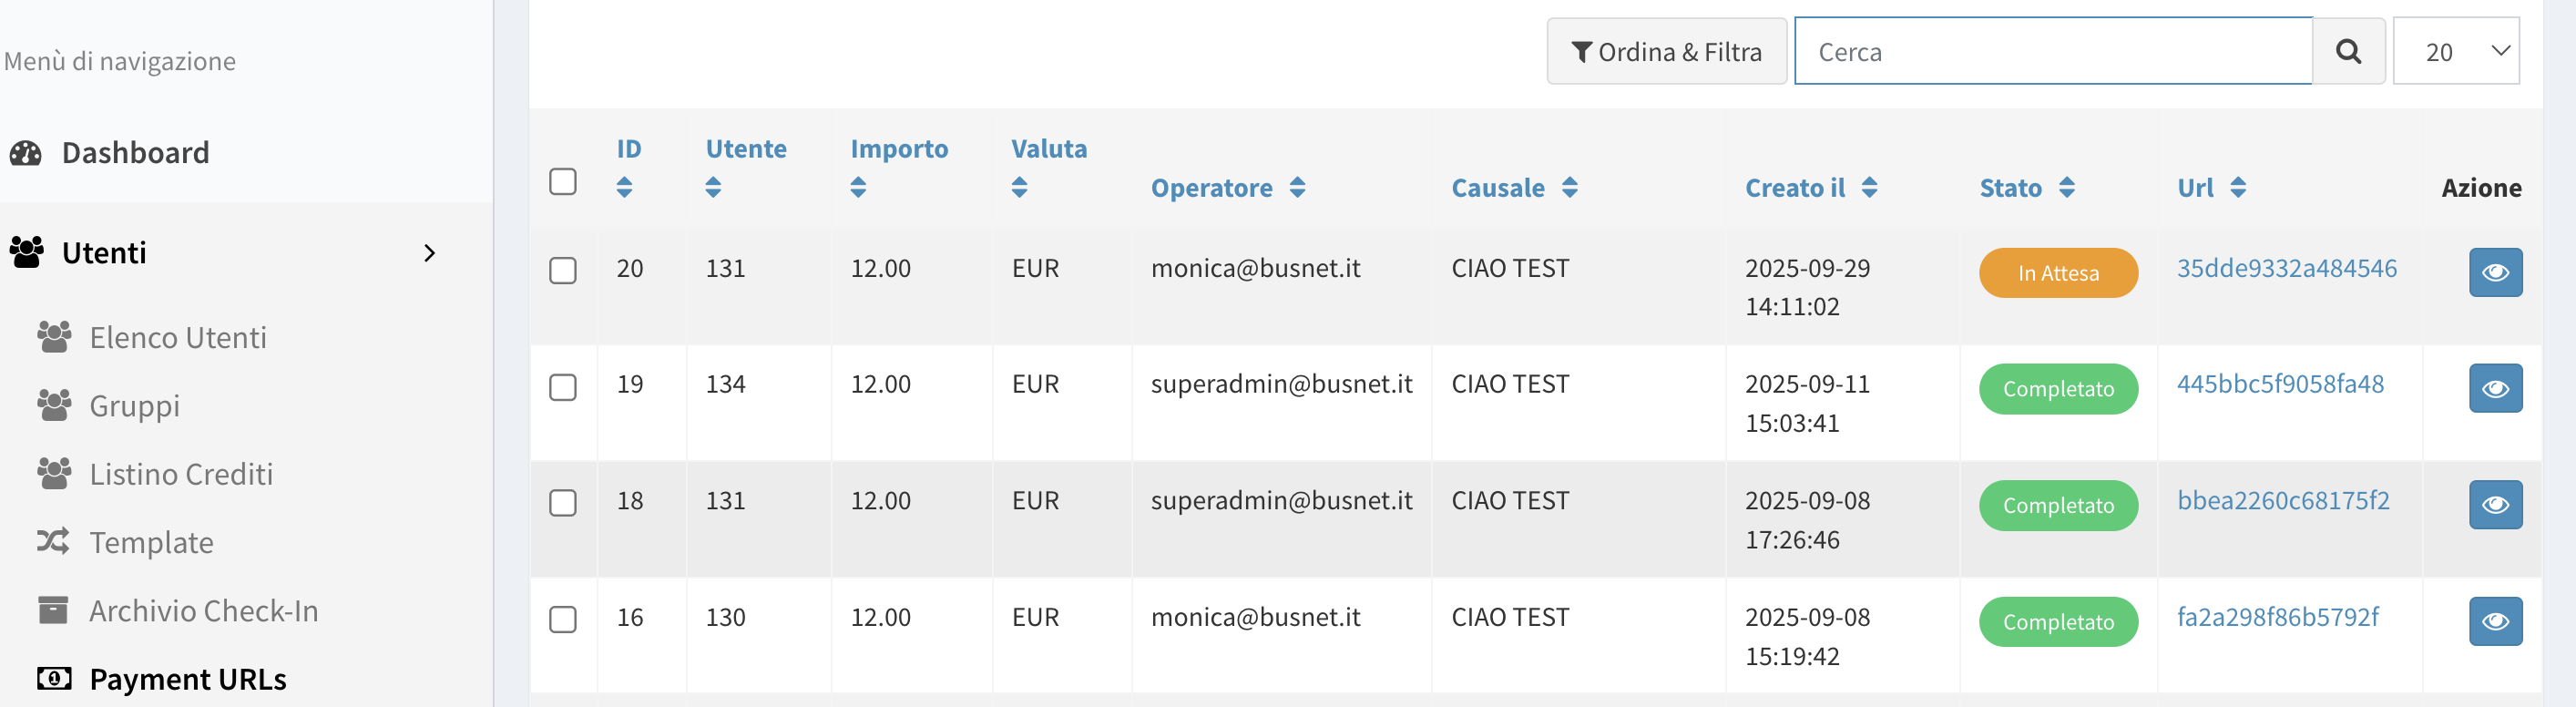
You can access the payment link archive:
- through the history shown in the user’s summary section
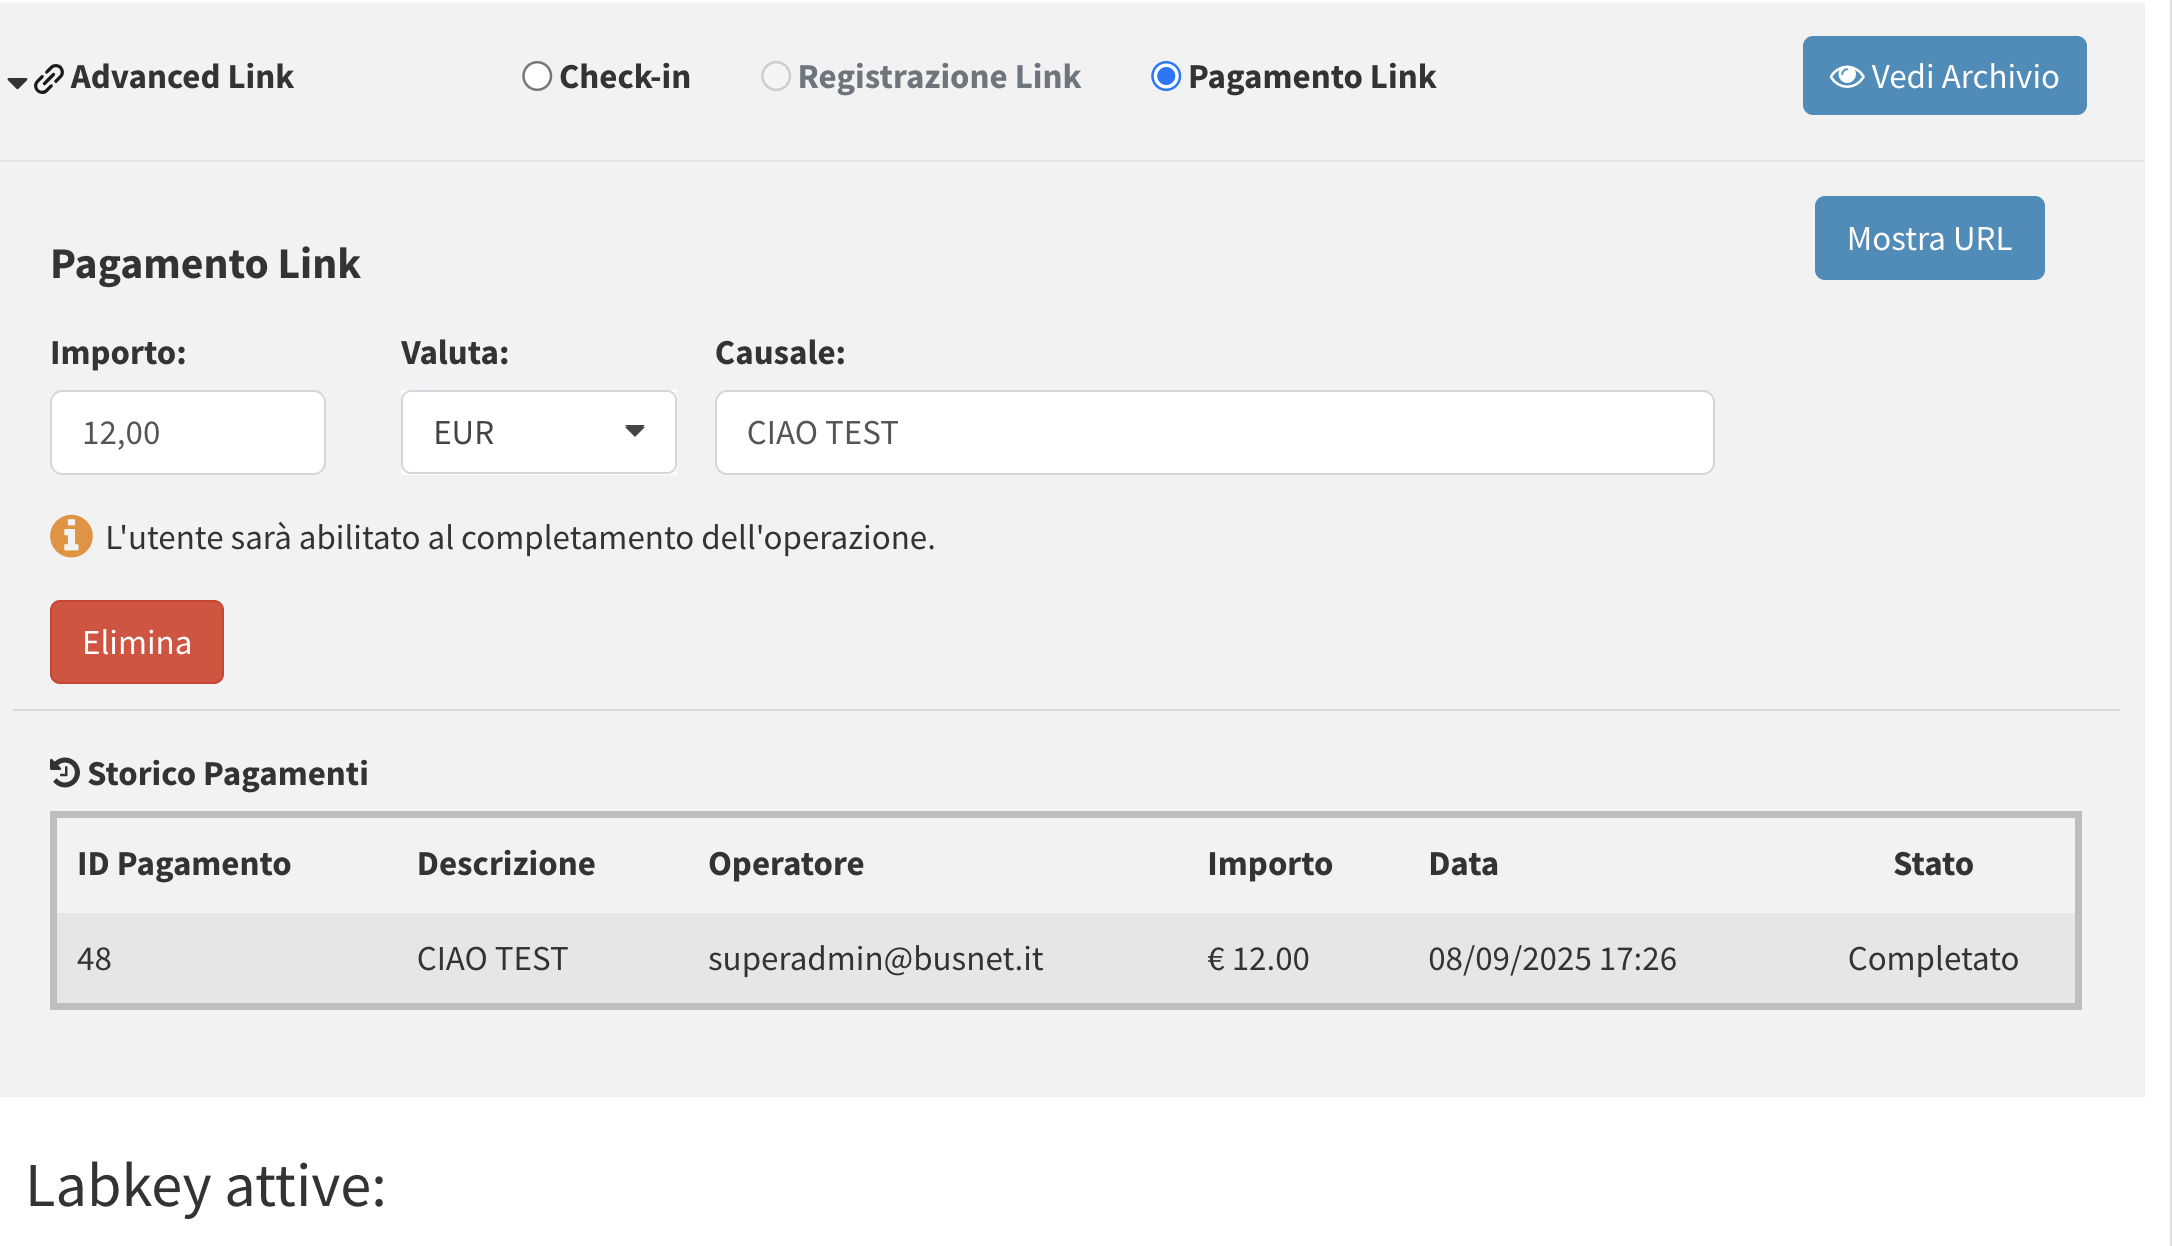
- in the dedicated “Payment URLs” menu section
“Coin” Icon:
- Grey: payment link created
- Colored: payment completed
Note: each icon is clickable and will open the guest’s data summary.