Settings Configuration
Before using the plugin, configure all the general settings. In your panel, click on “Plugins” from the right hand menu. Click the green pencil icon…
Before using the plugin, configure all the general settings.
- In your panel, click on “Plugins” from the right-hand menu.
- Click the green pencil icon corresponding to the “Check-in” row.
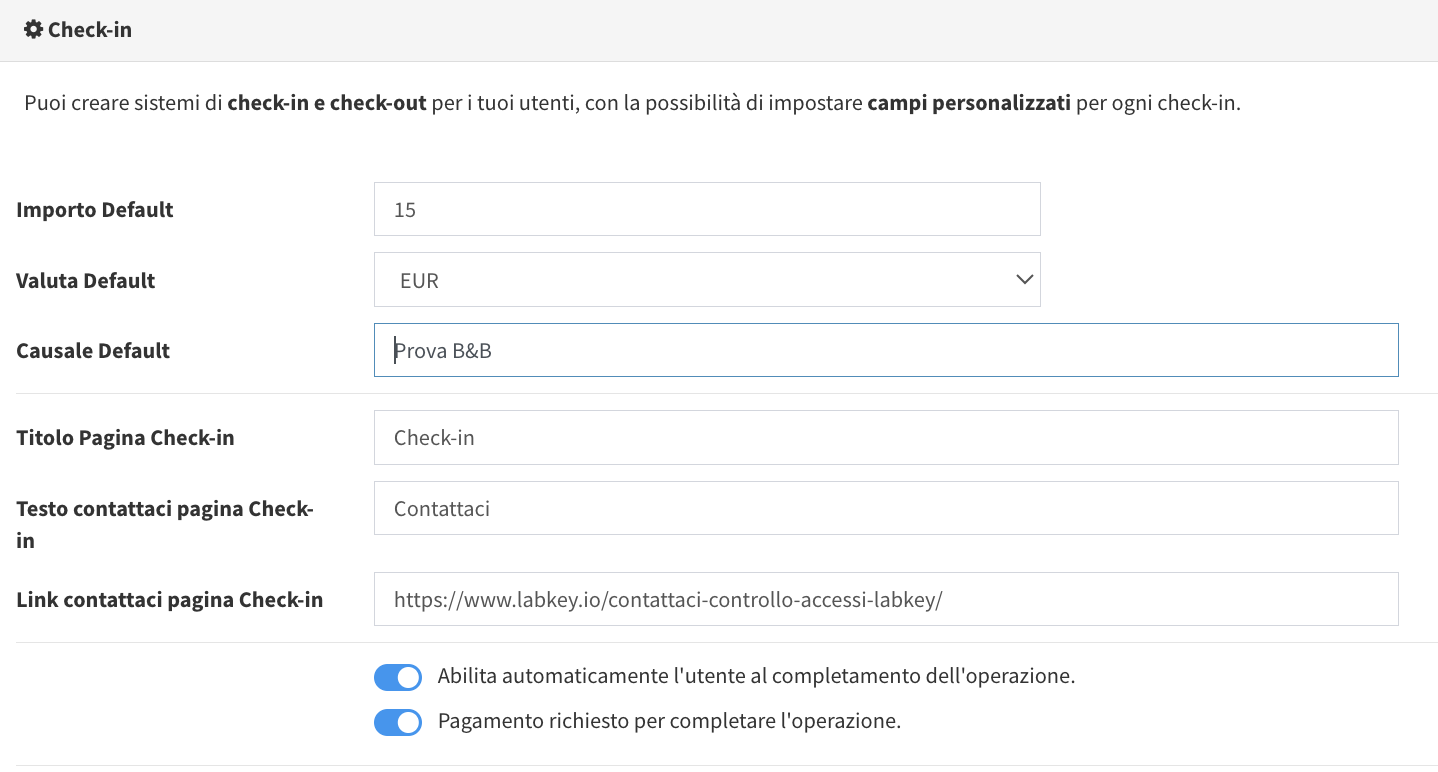
In this section, you can:
- Customize the page title for the Check-in procedure, the footer text, and the link to redirect users if they click on it.
- Enable or disable payment linked to the check-in procedure.
Note: the payment plugin must also be activated for this procedure.
- Enter your Alloggiati Web portal credentials, enabling or disabling the automatic sending of data upon completion of the check-in procedure.
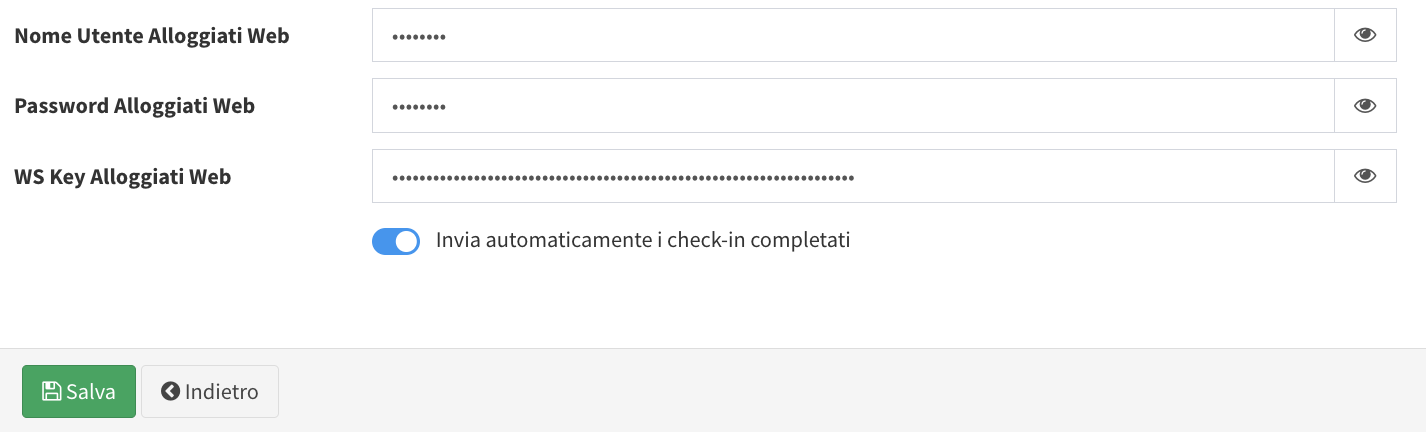
To complete the configuration, click “Save” at the bottom of the page.