Check-in Procedure
1. CREATING THE REMOTE CHECK-IN LINK
To create the remote check-in link for the guest to complete, the facility manager must first create the user in the Manage panel corresponding to the guest and assign permissions to the readers/controllers they should access.
(For more information on creating a user, see section 3.4 Adding a New User)
At this stage, the user will be created in a “Disabled” status, because only at the end of the online procedure will the user receive the valid access code to enter the facility according to the previously set criteria.
Once the user is created, in the summary section (accessible via the blue eye icon in the user list), you can generate the link by setting:
Check-in and check-out dates
Facility (see section 3.2 Adding a Facility)
Note: To select a facility, it must be linked to an Alloggiati Web Apartment ID. Learn how to set this in the facility section 3.2 Adding a Facility.
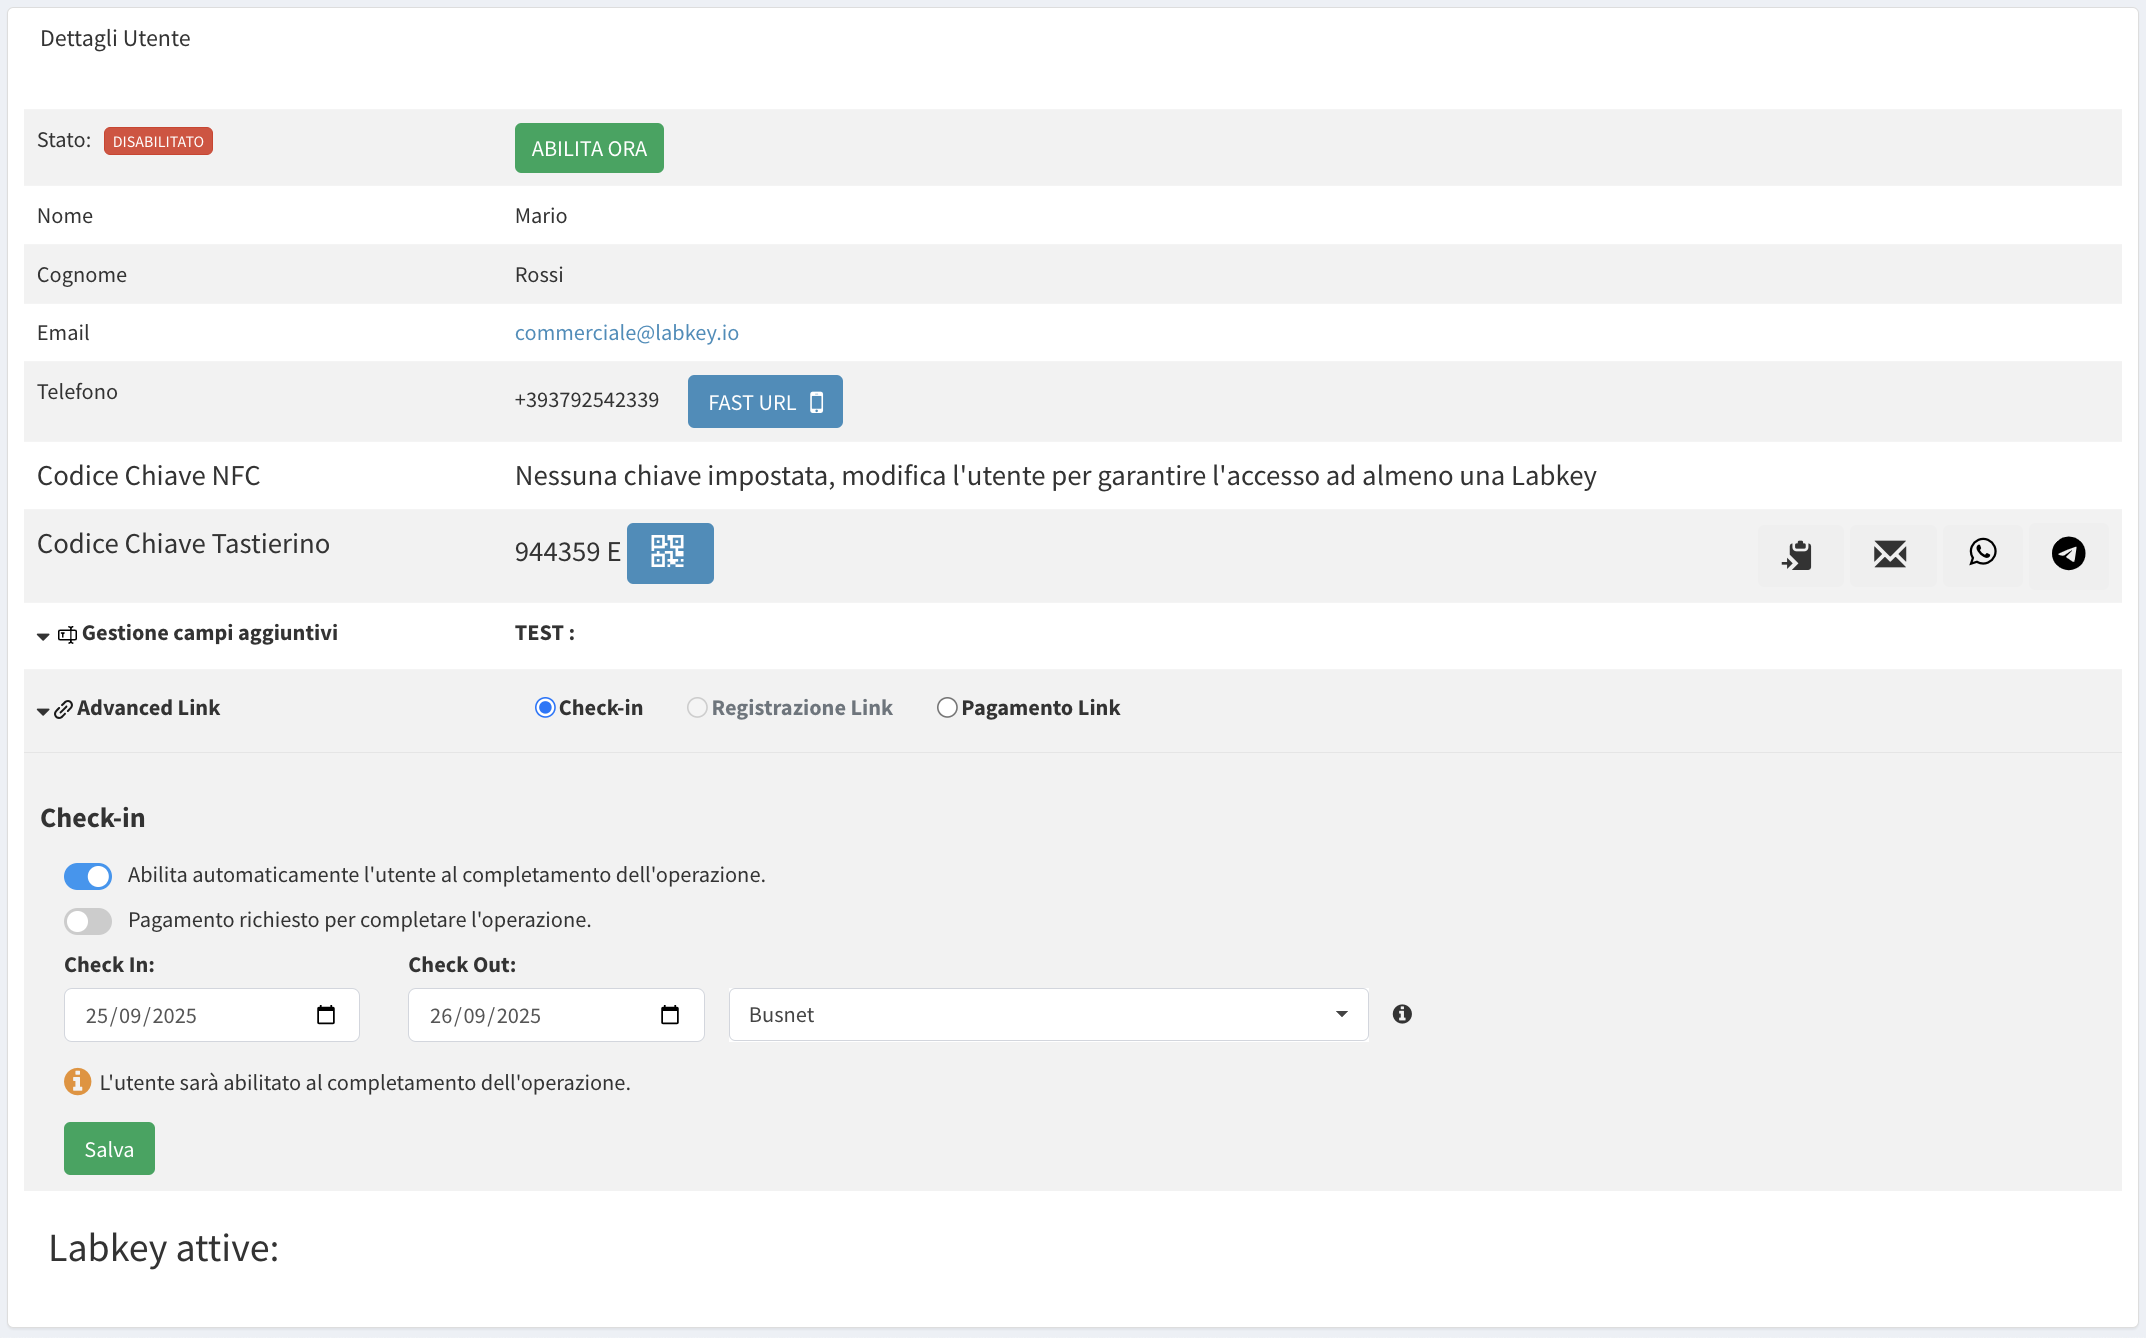
- PAYMENT REQUEST: if the check-in procedure is to be linked to a payment request, simply enable this function when creating the link or by default in the plugin settings.
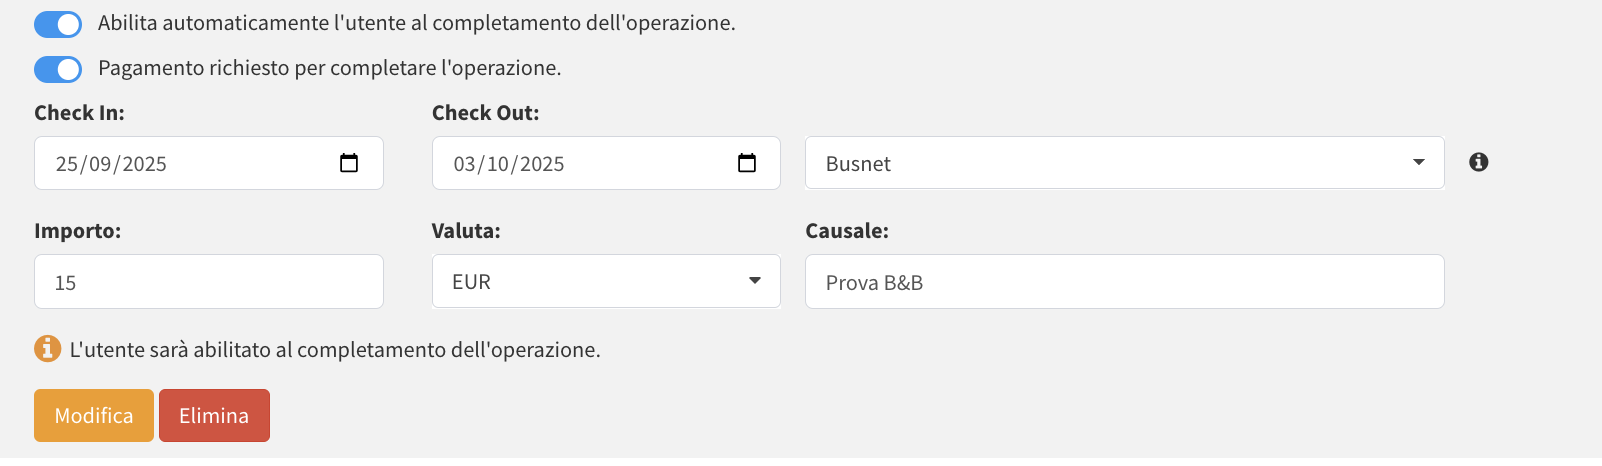
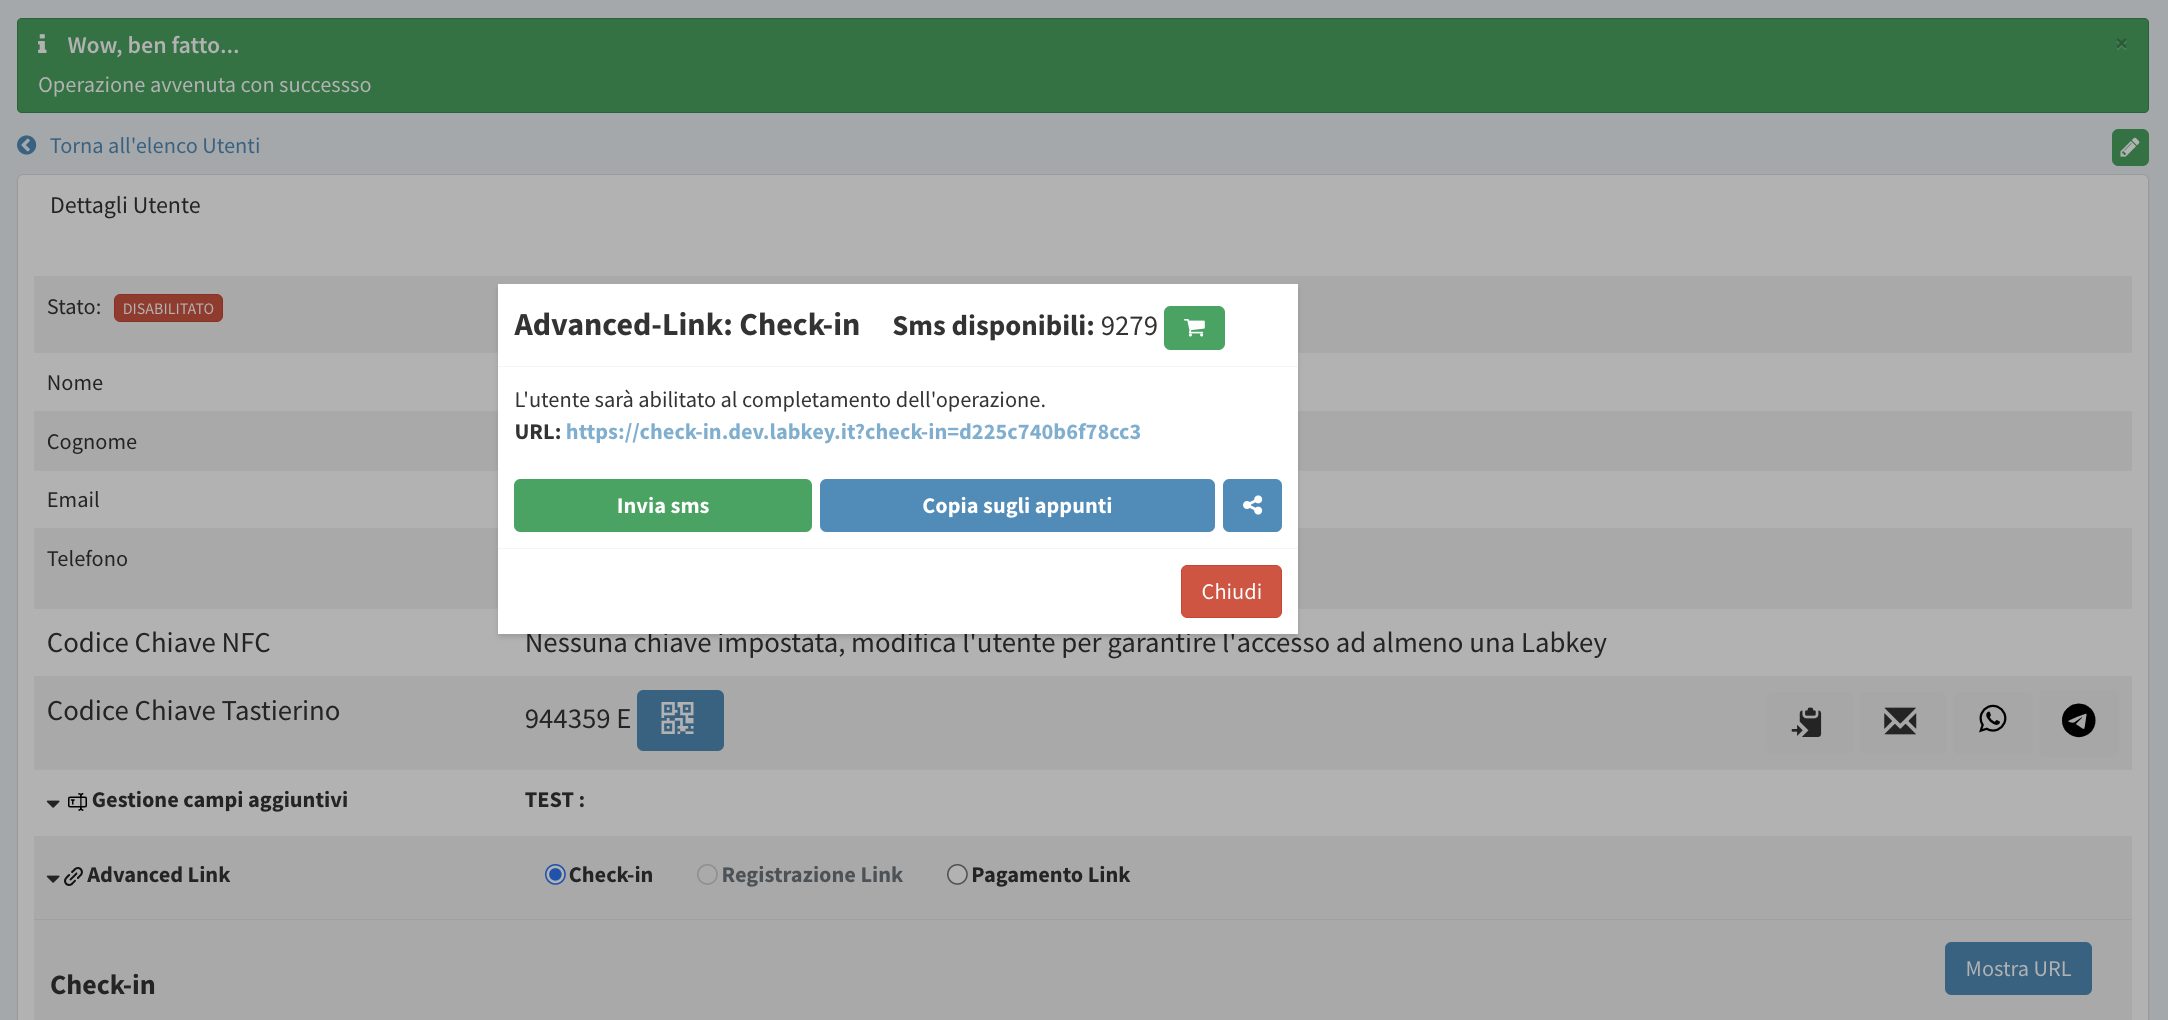
- Click “Save” and a pop-up will appear for sharing the check-in link. Sharing options include:
- SMS (credits can be purchased in the dedicated section by clicking the green cart icon or directly from the dashboard as described in 3.1 Manage Panel)
- Copy and paste
- Direct sharing via email and WhatsApp (coming soon)
Once the link is shared, the guest must complete the online procedure of entering personal data and identity verification. Only after this step will the corresponding user in the Manage panel have the status “Enabled”.
ATTENTION: The check-in procedure will only be completed and sent to the police when the guest first uses the code in the physical reader/controller on the day set as the check-in date.
The access verification token will be logged and the guest’s identity verified. The first verification log is marked with a green “C” icon.

2. SENDING DATA TO THE POLICE (ALLOGGIATI WEB)
Data is sent automatically if the Check-in plugin settings are configured for automatic sending. Otherwise, it must be sent manually using the “Send Data to Police” button found:
- In the user’s view section (blue eye icon)
- At the top of the user list

Note: Manual sending must be done on the check-in day, because after midnight, the police system will no longer accept the data.
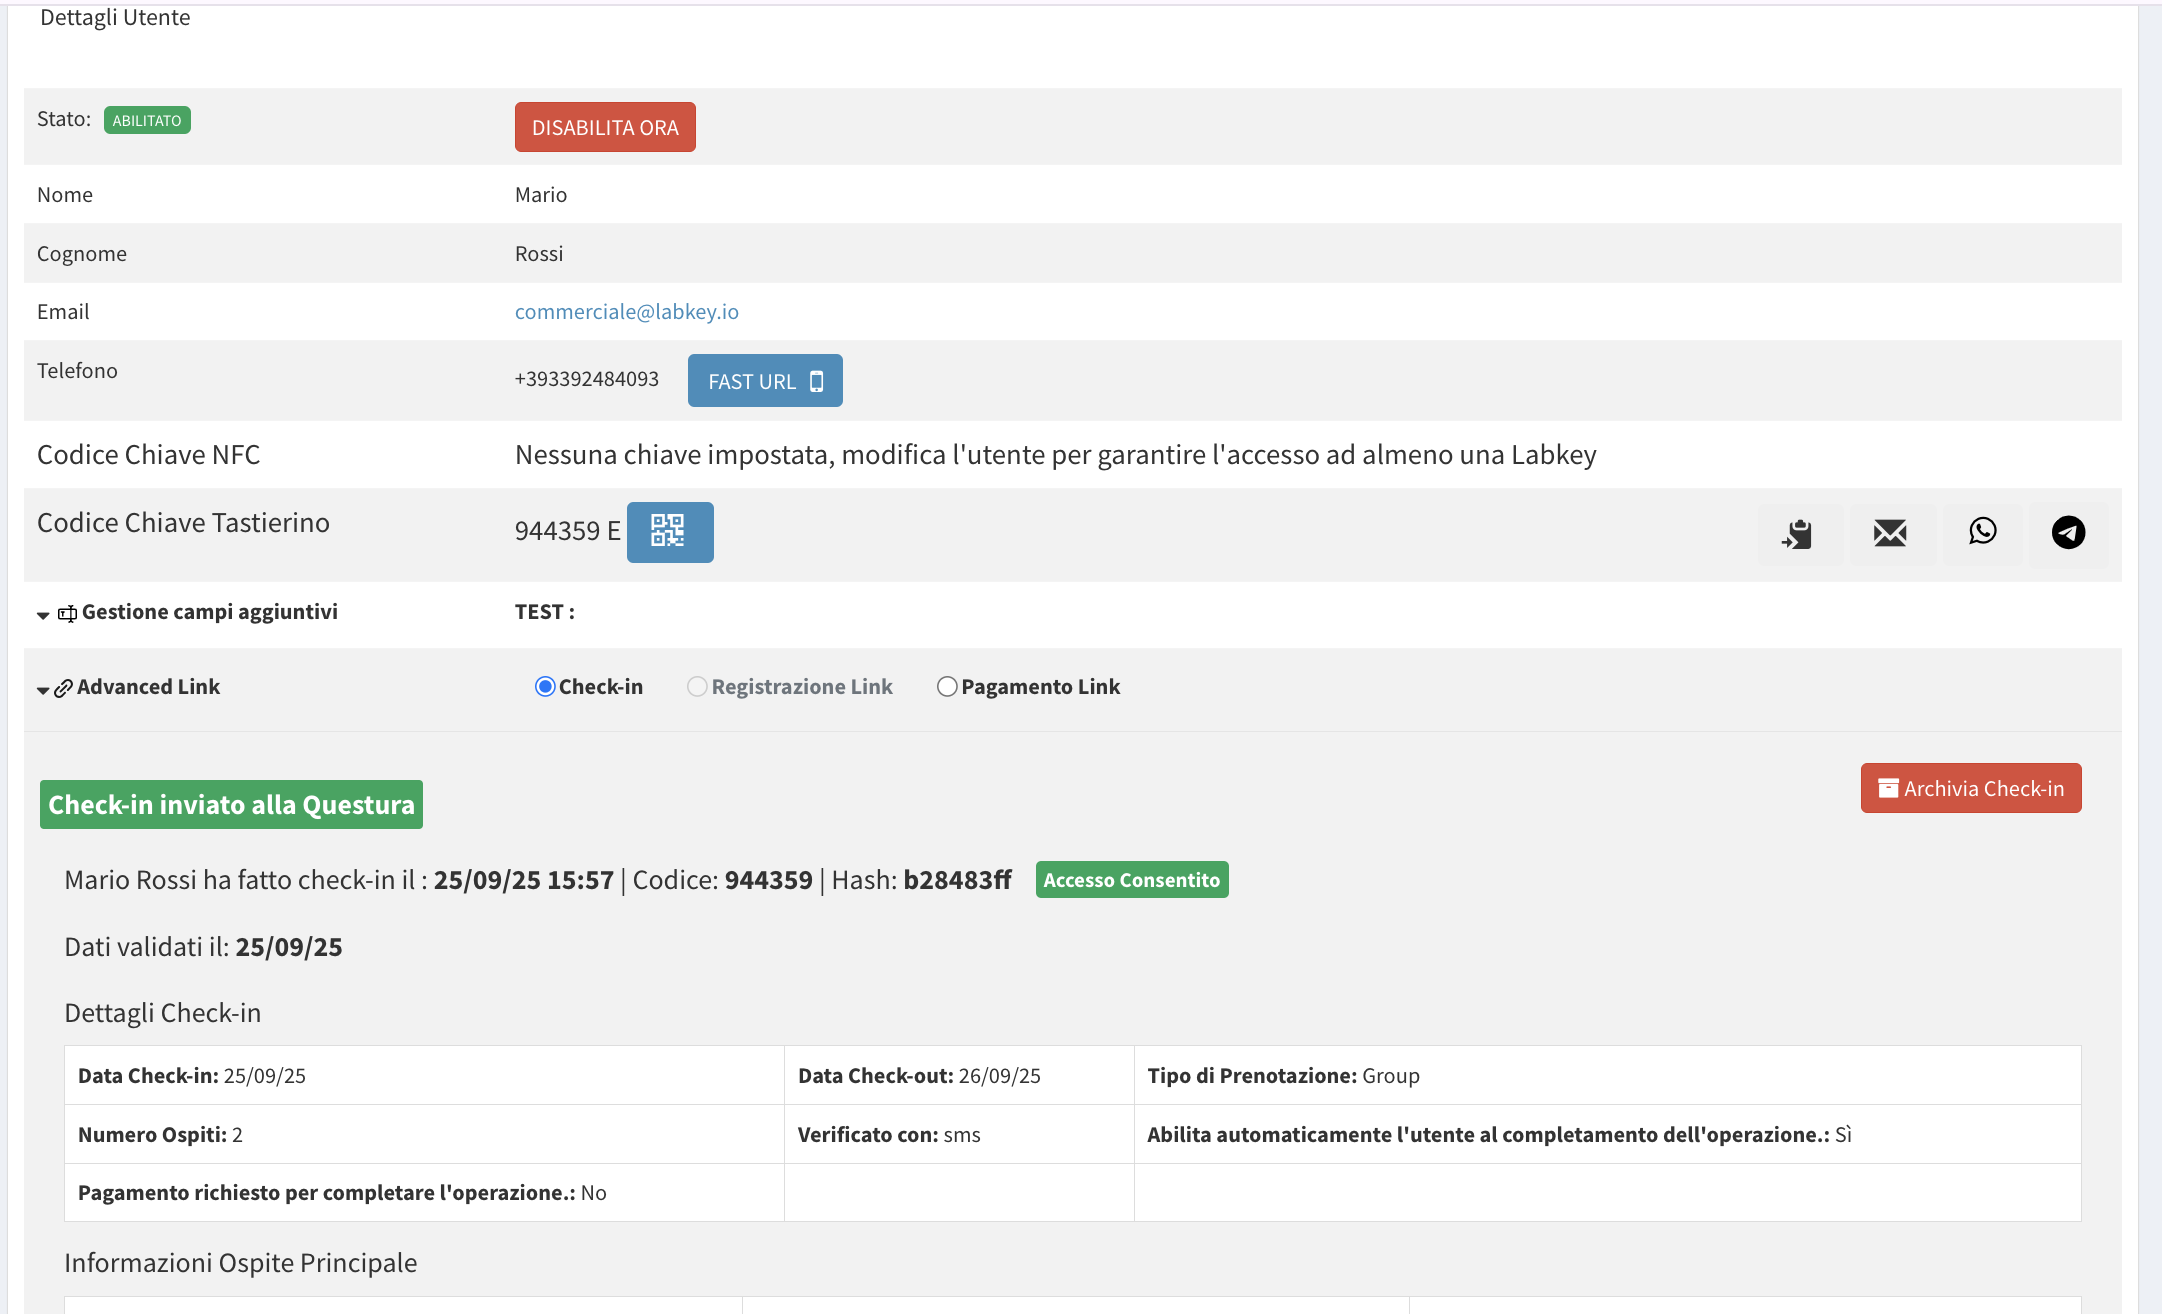
After sending, the user summary tab displays all sent data and the verification hash of the check-in and identity.
3. GUEST ONLINE PROCEDURE
Once the guest receives the link, they must:
If payment is required, complete the payment via Stripe.
The guest will receive payment confirmation via email.
Payment summary will be available in the user view and check-in data sections.Verify the main booking user information and indicate the number of guests
Enter their personal data
Enter guest information
Upload their ID (front and back)
Verify identity using the preferred method
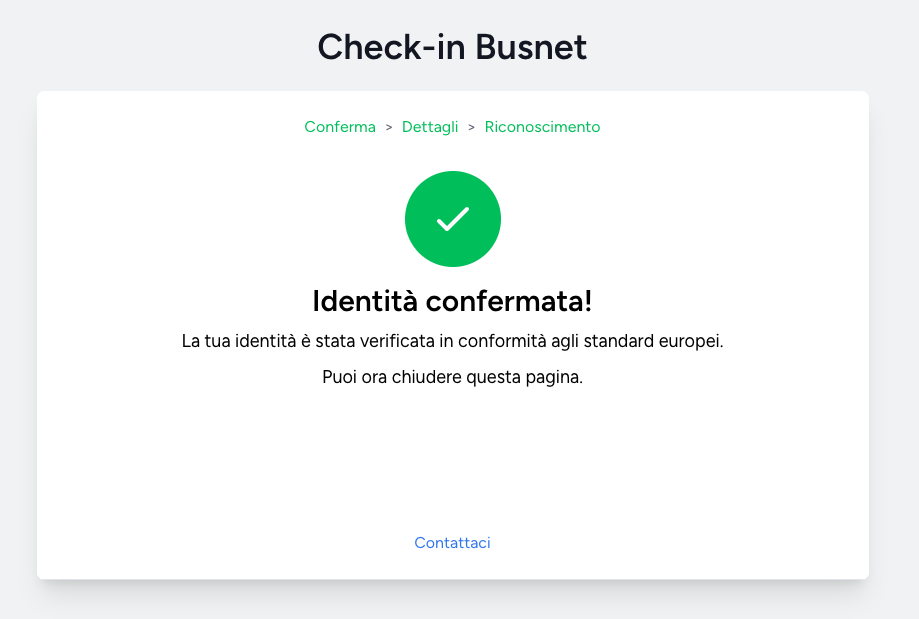
At the end of the procedure, the guest will receive via email a summary of the entered data and the code to enter.
The guest completes the check-in when they first use the code on the physical reader/controller at the facility on the set check-in date.