Mini Reader
LabKey Mini Reader
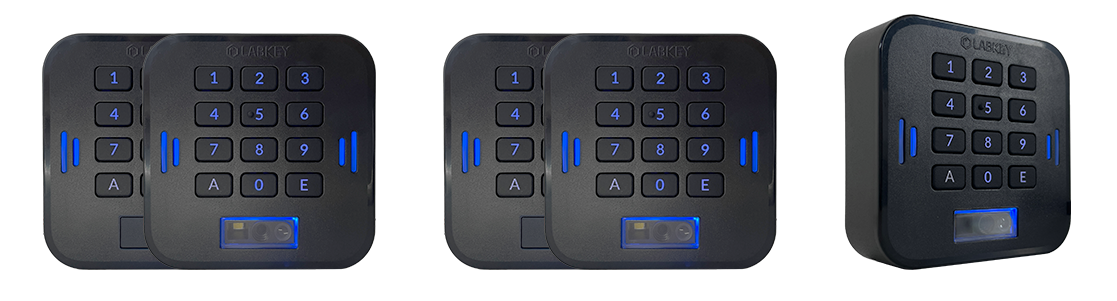
Connecting Control Devices to the Control Unit
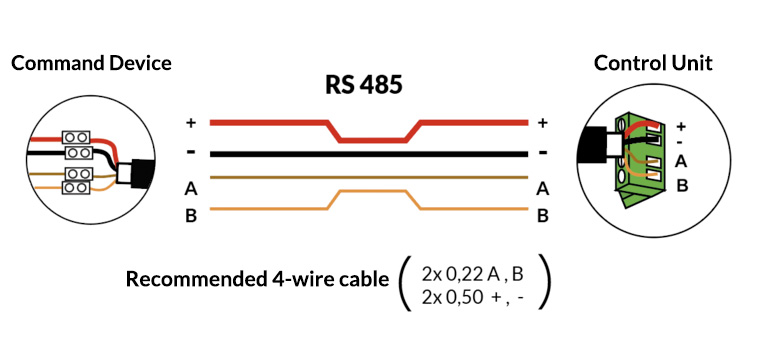
The connection between the control unit and the Mini range control device is made via RS-485 bus: see the dedicated page for the recommended cable, maximum distance and polarity.
Connecting the Radio Device to the Control Unit
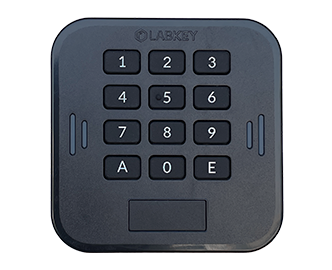
The Radio keypad uses a CR2450 battery, which on average lasts 2 years depending on usage.
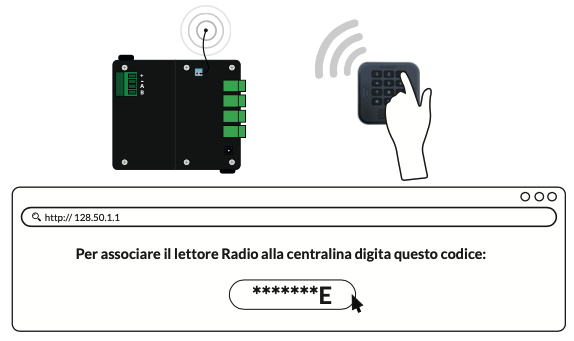
To connect the LabKey Mini Radio Keypad to the control unit, no cable is needed, as it works on the 433.92 MHz radio frequency. The control unit in question must be equipped with an additional radio module, to be added at the time of purchase.
On the page http://128.50.1.1, click on “Radio Devices” to associate the control unit with the LabKey Mini Radio. For detailed instructions on accessing this page, see the section: How to connect to the control unit for management.
MINI Reader Measurements
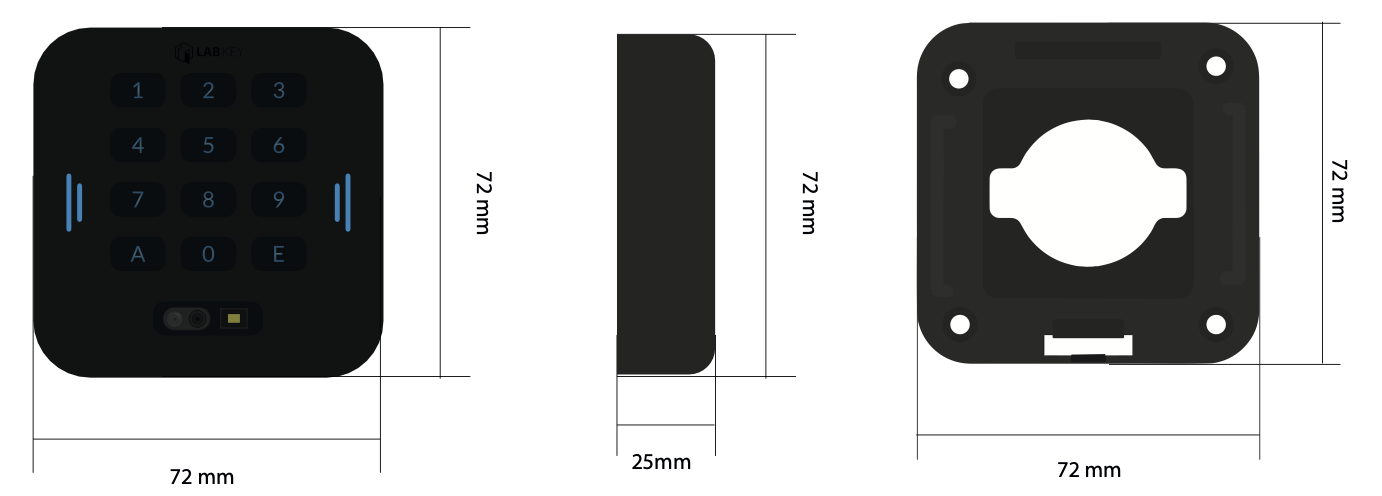
Download the PDF with the full measurements
Wall Mounting
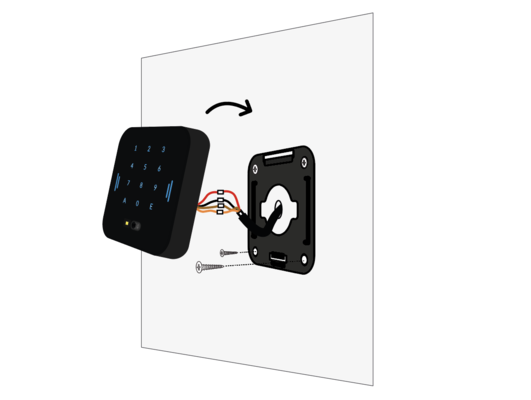
- Attach the bracket to the wall using the 4 supplied screws.
- Pass the RS-485 cable through the wall and through the hole in the bracket.
- Connect the corresponding wires (+, -, A and B) to the respective terminals on the control device.
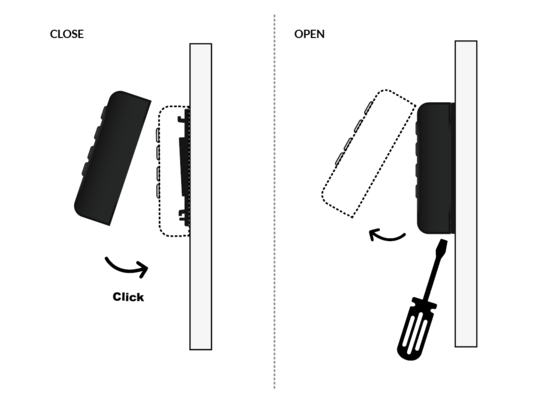
- Attach the control device to the wall bracket, ensuring it “clicks” into place.
To detach the control device from the wall bracket, use a screwdriver.
DUAL-MODE for the QR Code reader (Mini and Glass)
Our QR codes have been tested in all lighting conditions to ensure maximum functionality. Moreover, thanks to its dual mode, our QR code reader meets all needs:
- Day Mode: the reader remains constantly active and therefore always in focus
- Night Mode (default): the reader activates and focuses thanks to the presence sensor, without emitting any light.
To change the QR Code mode, go to the My LabKey > LabKey section and click on the green pencil corresponding to the control unit where your QR code reader is connected.
WARNING: changing this setting will restart the device.