DIP Switch Guide
DIP Switch Addressing
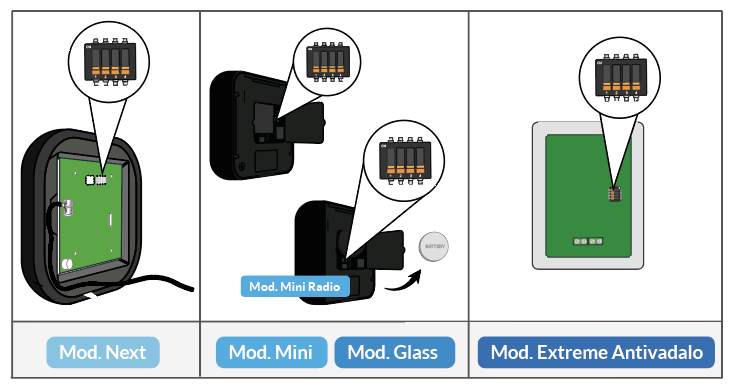
Before starting, it is necessary to set the numbering via the switches located on the electronic board, as shown in the table below.
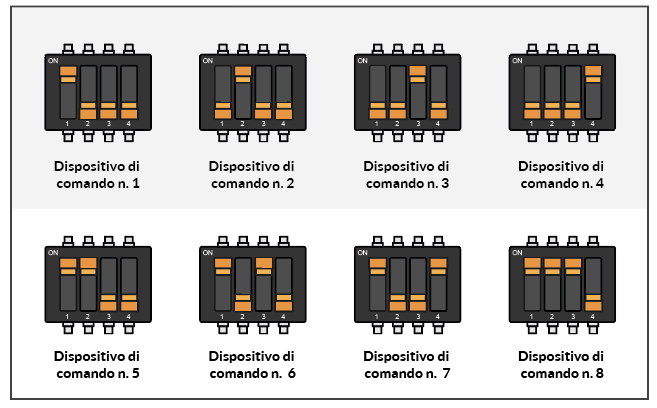
Each control device must be numbered from 1 to 8 and must be unique, keeping in mind that the same number cannot be repeated.
Does your control device not have a DIP switch? You can consider it as device number 1.
Note: Before setting the DIP switches, make sure to disconnect the power terminal from the reader (Next, Mini, Glass, Extreme models) and the battery for the LabKey Mini Radio model.
LabKey Extreme QR Code Model
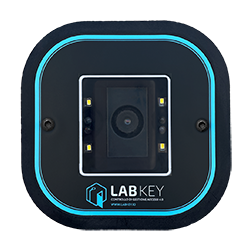
It should be noted that this particular type of control device can only be identified as “1”, since it does not have DIP switch management functionality.
Assignment Verification
Make sure each device is configured with a unique number, unless you want to set up two devices in parallel.
Carefully check the DIP switch settings to avoid overlaps or duplicates.
Online Recognition
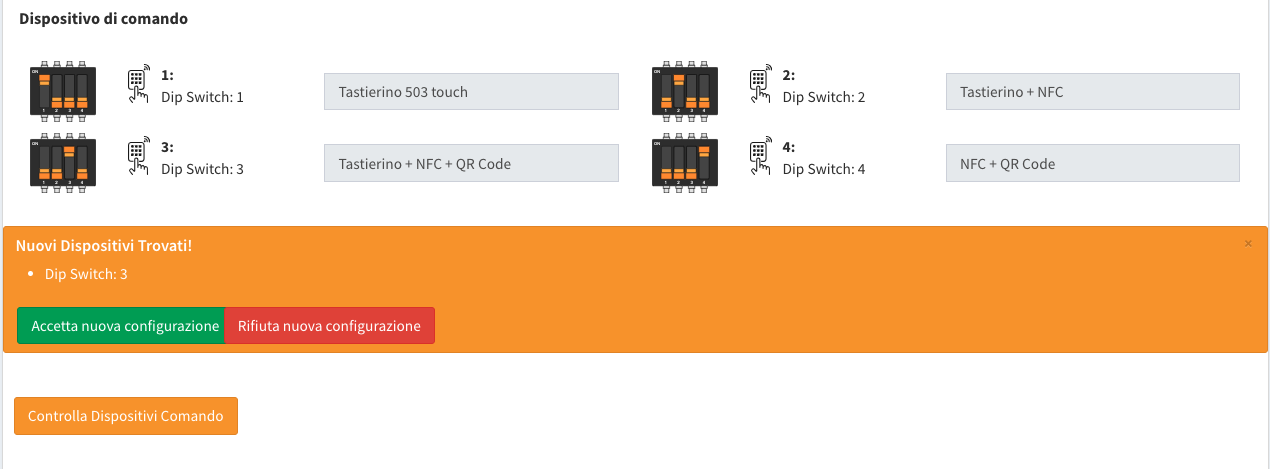
Once the DIP switches are configured, the control unit and online management panel should automatically recognize each numbered device according to its configuration.
Otherwise, go ahead with the manual procedure as described in the “Check Control Device” section under Editing LabKey.